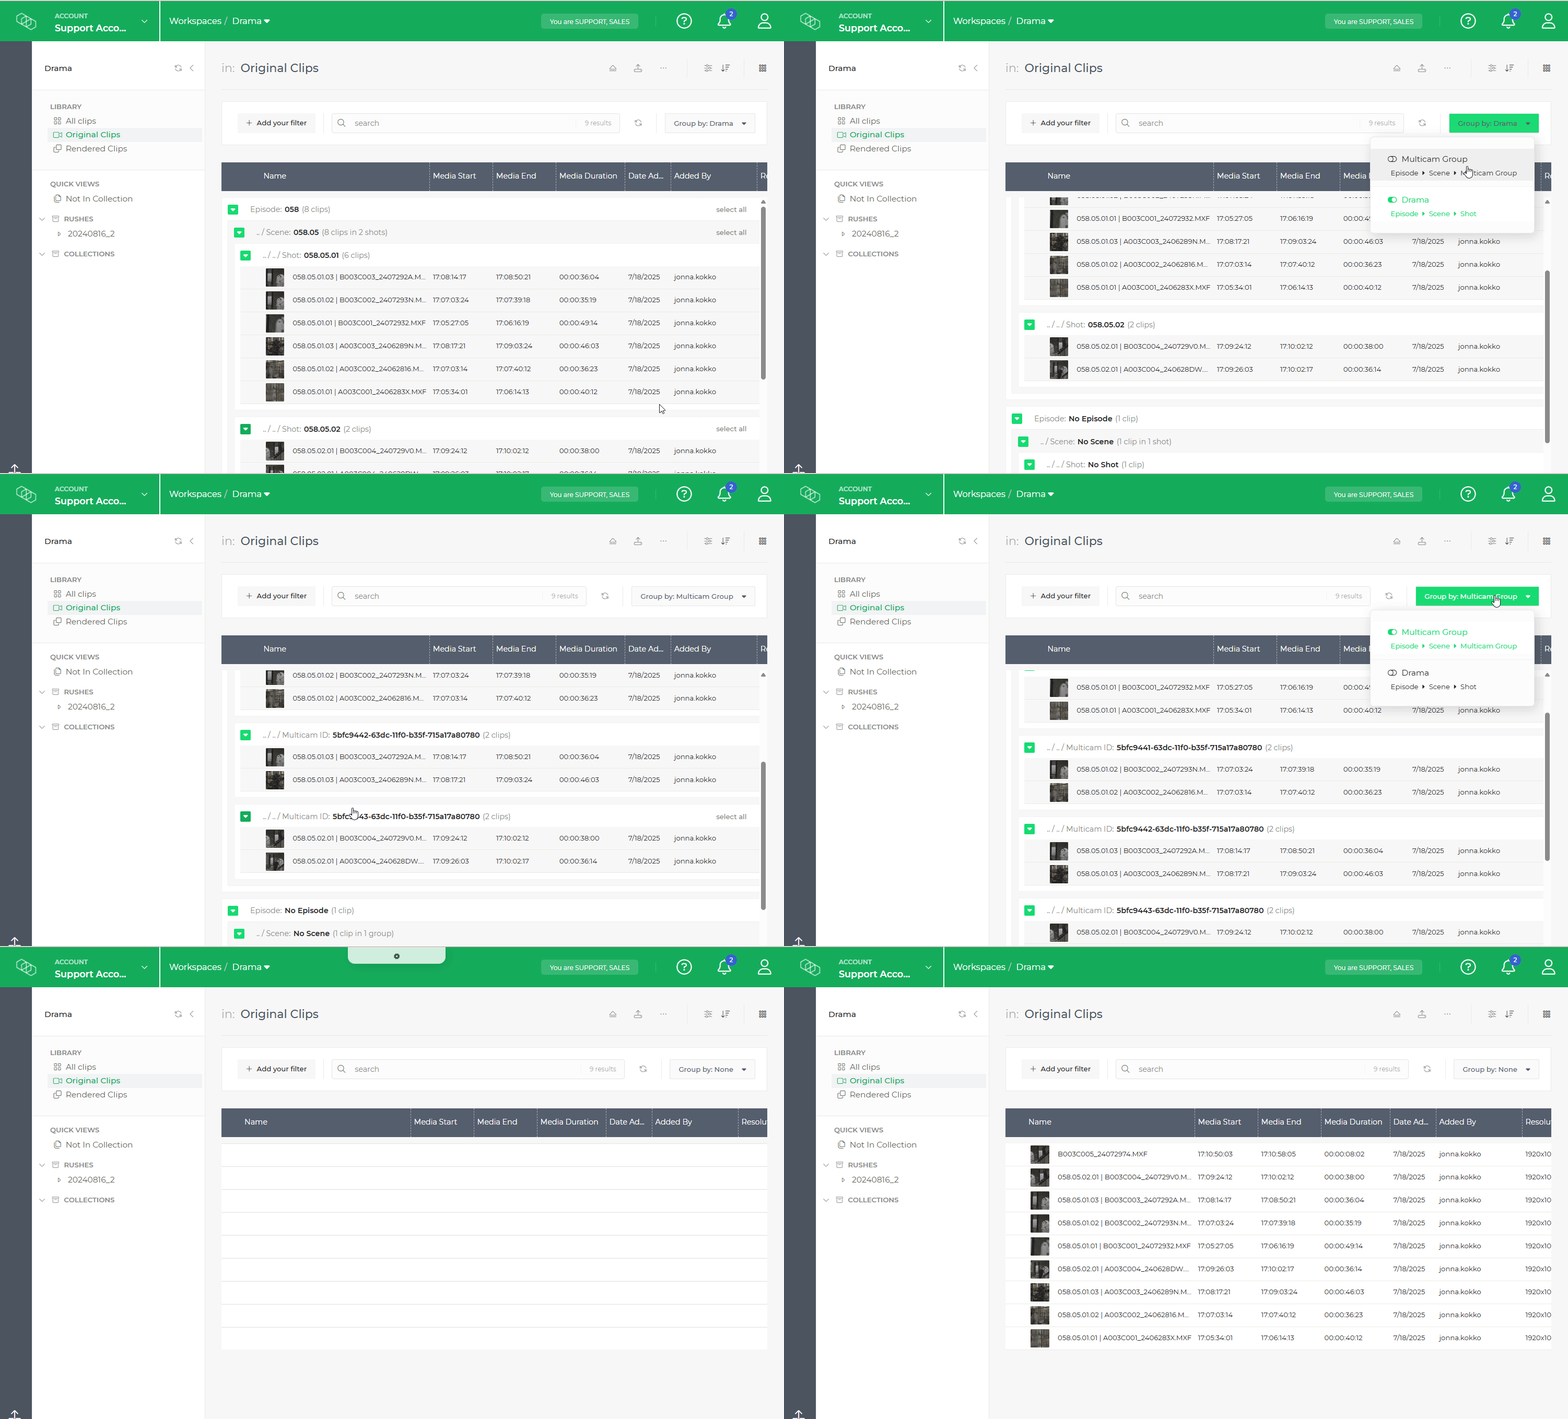
This article explains how to customise the grouping of clips in your media library to help you work more efficiently, especially when dealing with large productions.
Large catalogues or productions may contain thousands of media files, making it essential to structure how items are sorted and displayed. Limecraft offers several powerful features for handling large media libraries, including an advanced search engine, virtual folder structures (categories), metadata-based grouping, and saved searches or quick views. While categories and collections require manual input, as described in Working with Collections, this article focuses on automatic grouping.
Automatic grouping uses metadata generated during ingest to organise your material with minimal effort. Depending on your workflow, clips can be grouped by episode, scene, shot, subject, interviewee, and more.
Before You Begin
Before enabling customised grouping, ensure that the metadata model for your items is correctly configured. You will also need appropriate permissions, either as a production owner or account administrator, to adjust workspace settings.
Setting Up Grouping Options
To customise how material fragments are displayed in the library:
- Open the Production Settings and navigate to the Library section.
- Use Add Group Preset to create a new visualisation option based on relevant metadata fields.
- In the overview, you can:
- Change the display order of presets
- Set a default view
- Edit or delete existing visualisation templates

By configuring these presets, you can quickly switch between different views of your library and ensure your media is always organised in the most useful way.
The grouping options are available for all team members collaborating in the workspace, ensuring a consistent view of the library. 
